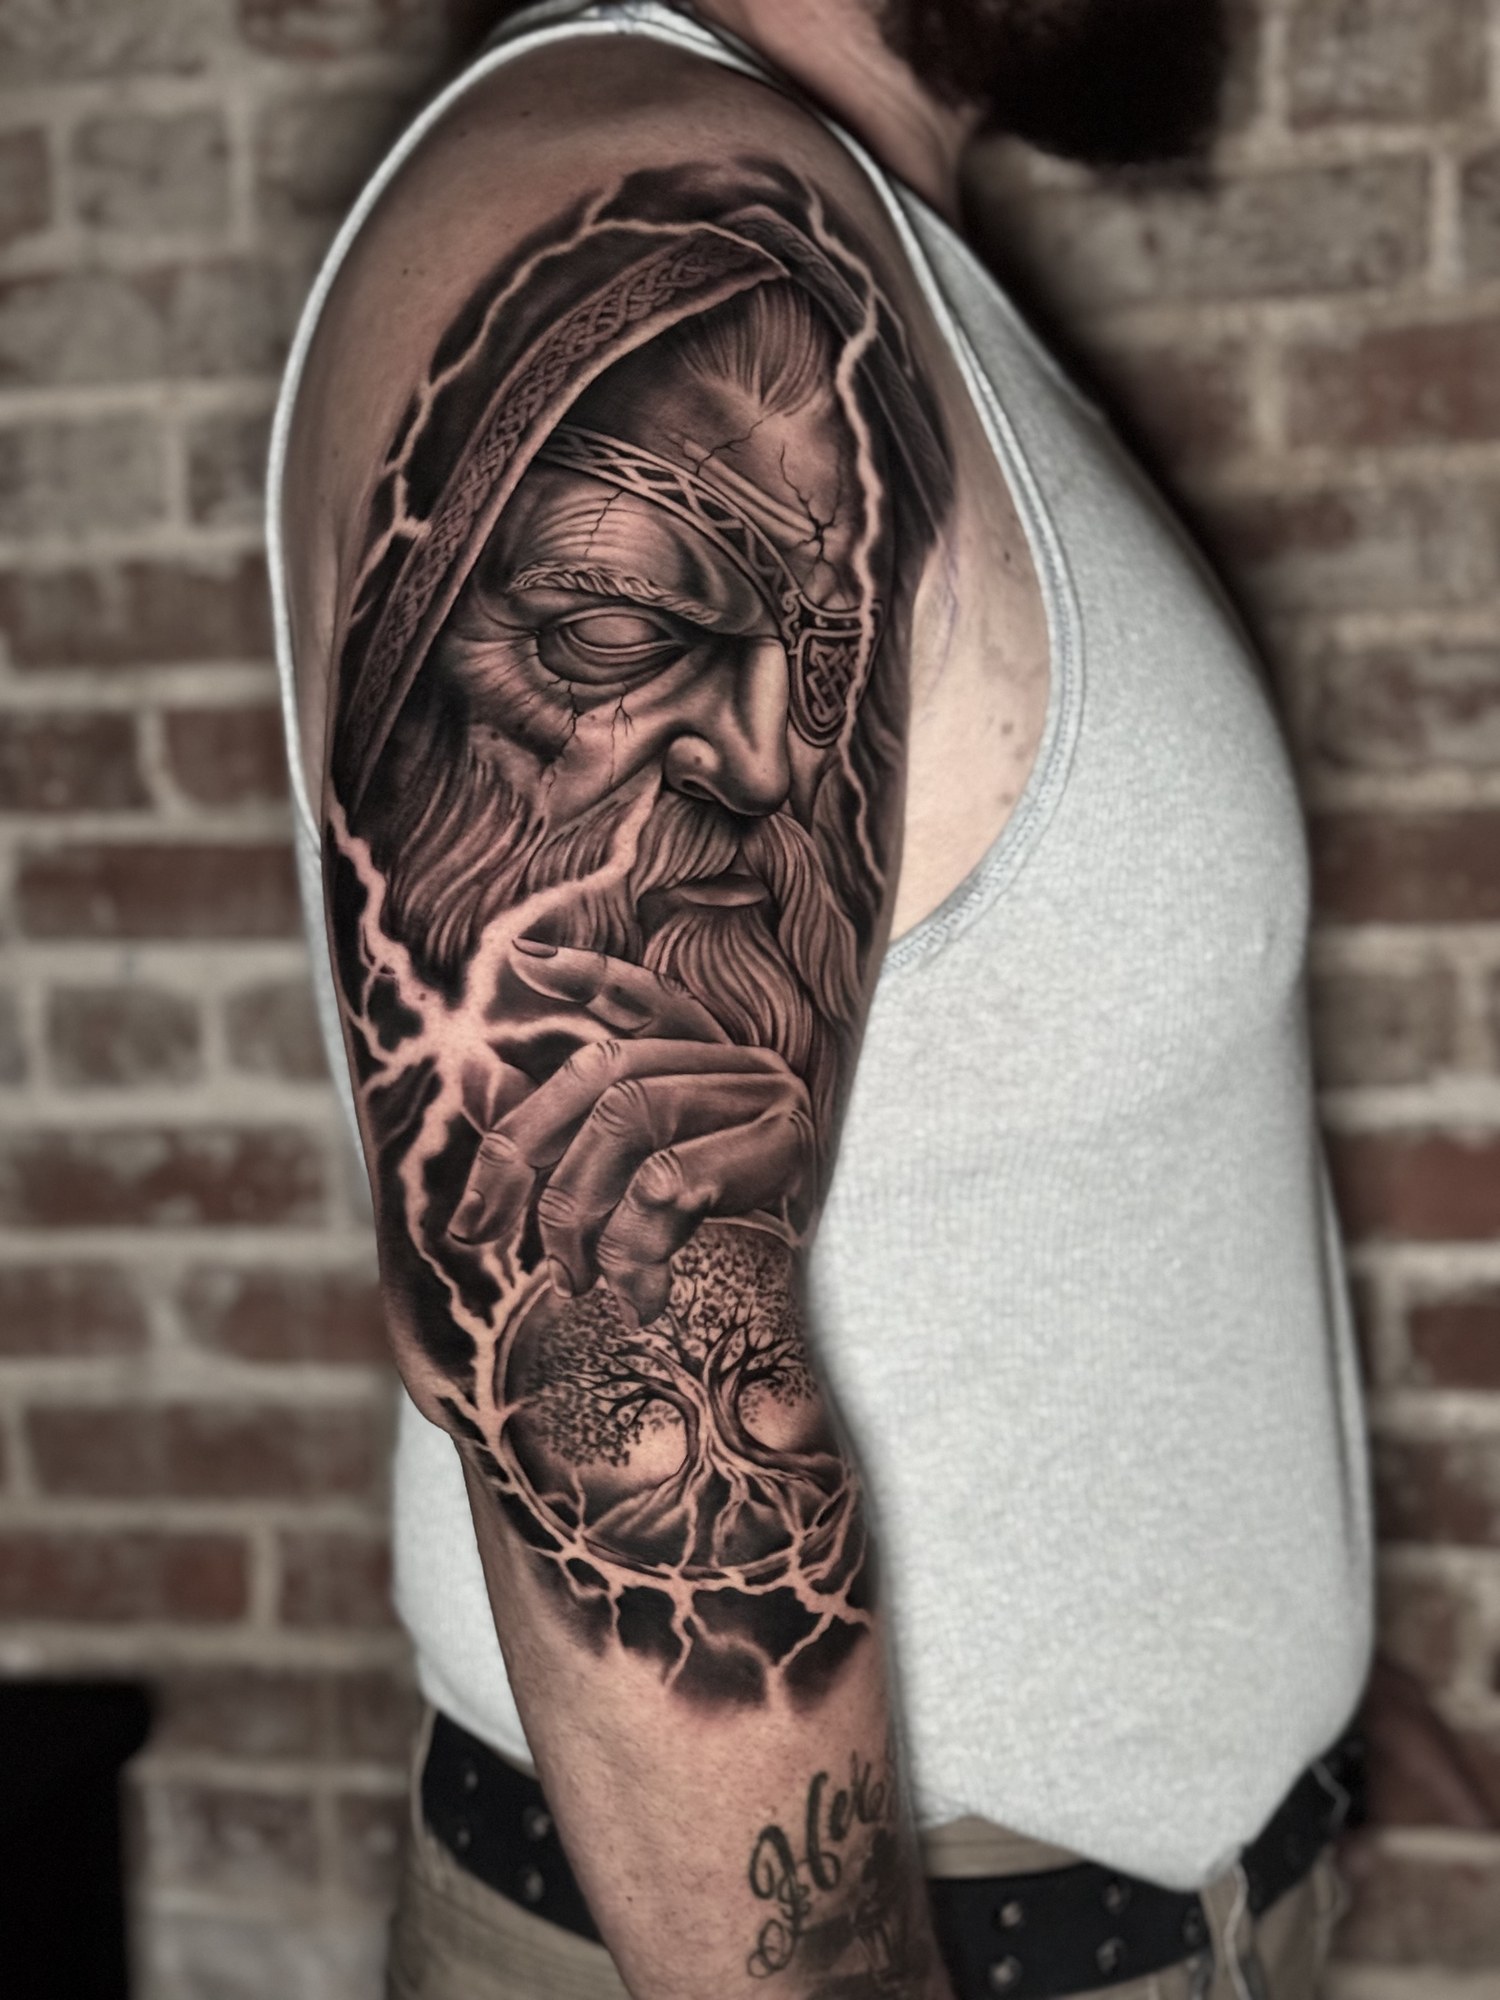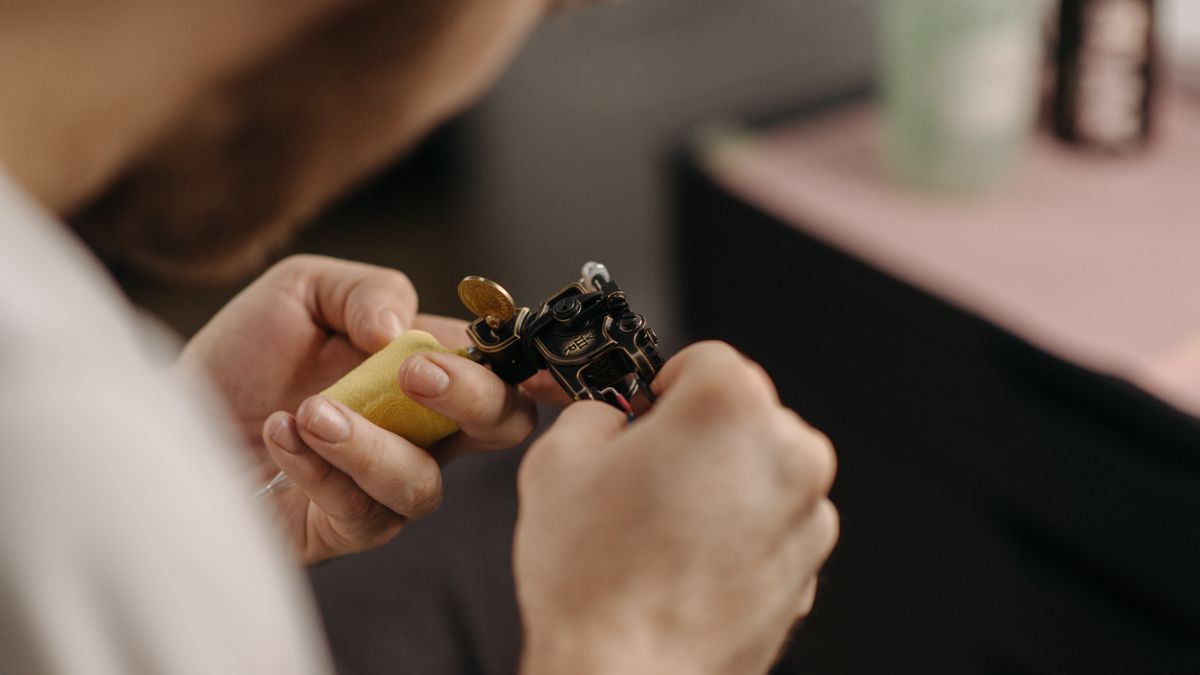
Scroll through any tattoo artist’s portfolio and the quality of the photography is doing almost as much work as the tattoo itself. A great tattoo photographed poorly—washed out by flash, distorted by a wide-angle phone lens, or badly cropped—can look far worse than it actually is. Professional tattoo photography is a distinct skill set that studios rely on for portfolios, healed-result documentation, and client records, and it follows a fairly consistent process from setup to final edit.
Why Studios Photograph Every Piece
Tattoo photography serves several practical purposes beyond simply looking good on social media:
- Portfolio building. An artist’s book of work is their primary marketing tool and the main way prospective clients evaluate whether a given artist’s style matches what they want.
- Healed documentation. A photo taken immediately after a session shows fresh, slightly swollen skin and ink that has not settled yet. A separate healed photo, taken weeks later, shows how the tattoo actually looks long-term—which is far more useful information for future clients than a fresh-session photo alone.
- Client records. Photos of the finished piece give both the studio and the client a reference point for future touch-ups, useful because skin, ink saturation, and healing outcomes are specific to that individual tattoo.
Preparing the Skin Before the Photo
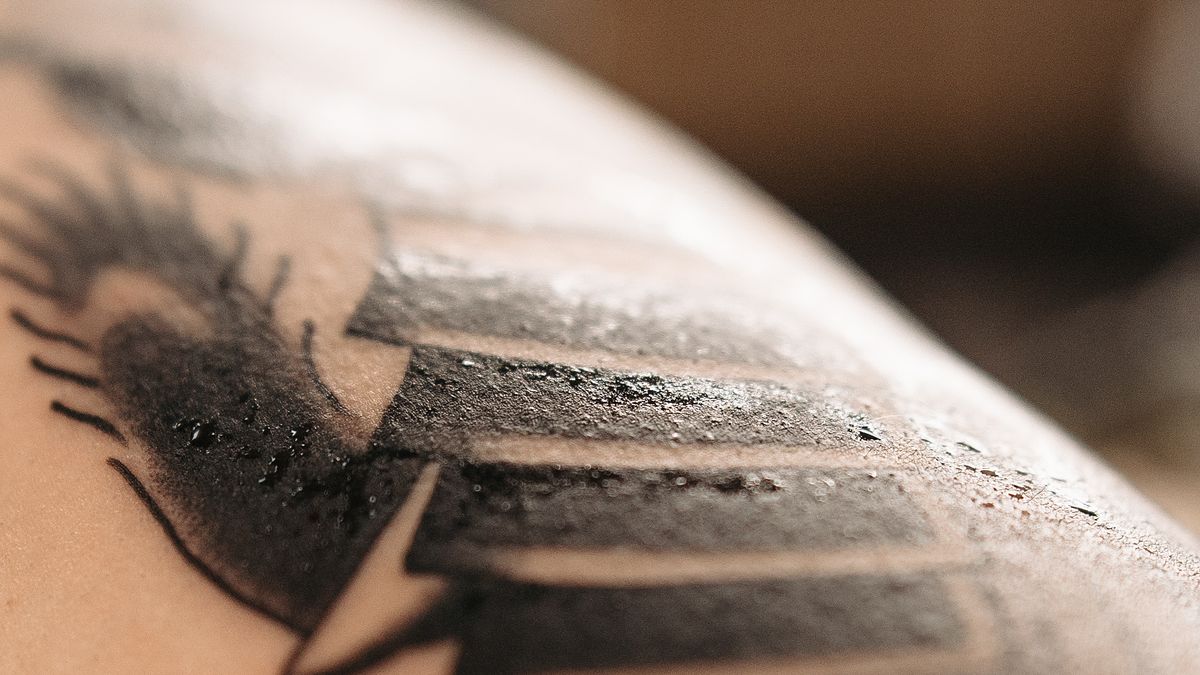
Before any photo is taken, the area is cleaned. Fresh tattoos have excess ink, plasma, and sometimes a thin layer of ointment on the surface, all of which affect how the piece reads in a photo. A quick wipe-down with a clean cloth or gauze pad removes this without disturbing the tattoo, and gives a much truer sense of the actual linework and shading underneath.
Lighting: The Single Biggest Factor
Lighting is what separates a professional tattoo photo from a blurry phone snapshot, and it is where most of the visible difference comes from.
- Avoid direct, on-camera flash. A built-in phone or camera flash sitting directly above the lens creates harsh glare on tattooed skin, which is often still slightly shiny or swollen right after a session. That glare can wash out fine linework entirely.
- Use diffused, off-axis light. Professional setups typically rely on a ring light, softbox, or bounced strobe positioned to the side rather than straight-on, which spreads the light evenly across the skin and reduces harsh reflections.
- Match the light to the ink. Black and grey work generally photographs best under slightly cooler, even lighting that preserves contrast, while color-heavy pieces benefit from lighting closer to neutral daylight temperature so the colors read accurately rather than shifting warm or cool.
Camera Position and Lens Choice
Tattoos are photographed close to the skin, which means lens distortion is a real risk. Wide-angle lenses (including the main lens on most phones, when held too close) can visibly warp the tattoo, especially on curved body parts like the shoulder, calf, or ribs. Professional photography typically uses a longer focal length or a dedicated macro lens and steps back slightly rather than shooting from very close range, which keeps proportions accurate. The camera is also kept as parallel as possible to the tattooed surface—shooting at an angle across a curved body part exaggerates distortion further.
Color Accuracy
Skin tone and ink color are easy to misrepresent under artificial light, which is why professional photography workflows include a white balance step—either setting it manually against a neutral reference or correcting it afterward in editing—so that black ink reads as true black rather than blue or brown, and colored ink matches what it actually looks like in person.
Composition Choices
A few compositional habits show up consistently in strong tattoo photography:
- Full context first, detail shots second. A wider shot showing how the tattoo sits on the body part is typically taken before tighter macro shots of fine detail, since both serve different purposes in a portfolio.
- Neutral, uncluttered backgrounds. Plain walls, matte fabric backdrops, or simple studio backgrounds keep attention on the tattoo rather than competing with the surroundings.
- Consistent framing across a portfolio. Studios that photograph consistently—same rough angle, similar lighting setup, similar background—end up with a portfolio that reads as a cohesive body of work rather than a mismatched collection of phone photos.
Editing: Correction, Not Alteration
Legitimate editing in this context means color correction, exposure adjustment, and cropping—not smoothing out skin texture, changing the apparent size or placement of the tattoo, or otherwise altering what the tattoo actually looks like. Editing a portfolio photo to misrepresent healed results is a disservice to prospective clients trying to gauge real outcomes, and reputable studios generally keep their editing limited to correction rather than retouching.
Fresh vs. Healed Photos
A responsible portfolio distinguishes between fresh-session photos and healed photos, since they can look meaningfully different. Freshly tattooed skin is often slightly raised, reddened around the edges, and shinier from ointment; healed skin (typically a few weeks to a couple of months later, depending on placement and size) shows the tattoo’s true settled appearance. Clients evaluating an artist’s work benefit from seeing both, and studios that only ever show fresh photos are giving an incomplete picture of how their work actually ages.
Consent Before Anything Goes Online
Finally, professional practice includes asking the client’s permission before using their tattoo photo publicly, whether that is a portfolio page, a website, or a social media post. Some clients are comfortable with full visibility, including their face; others want the photo cropped to show only the tattoo. A studio that treats this as a routine, respected question—rather than assuming consent by default—is following standard professional practice.
The Basic Equipment Behind a Studio Setup
A dedicated tattoo photography setup does not need to be elaborate, but it typically includes a few specific pieces of gear rather than relying on whatever light happens to be in the room:
- A ring light or small softbox positioned off to one side, providing even, diffused light without the harsh shadows a single overhead bulb creates.
- A macro or close-focus lens (on a dedicated camera, or a clip-on macro attachment for a phone), which allows sharp detail shots from a comfortable distance without the distortion of shooting too close with a standard wide lens.
- A simple tripod or phone mount, which keeps the camera stable and parallel to the skin—handheld shots are more prone to slight angle changes that introduce distortion, especially on curved body parts.
- A plain backdrop, even something as simple as a matte fabric sheet or a blank wall, reserved specifically for photographing finished work.
Common Mistakes That Undermine an Otherwise Good Tattoo
- Shooting immediately after applying ointment. A heavy, glossy layer of aftercare ointment creates glare and hides linework; a quick wipe with clean gauze first gives a much truer result.
- Shooting at a steep angle on a curved area. Shoulders, calves, and ribs are common trouble spots—shooting from an angle instead of as close to parallel as possible exaggerates warping that is not actually present on the skin.
- Mixed lighting sources. Combining warm indoor bulbs with a cooler flash or window light in the same shot creates uneven, unnatural color casts that are difficult to correct afterward.
Tips for Photographing Your Own Healed Tattoo at Home
Clients do not need a studio setup to get a reasonably accurate photo of their own healed work. Natural, indirect daylight (near a window, out of direct sun) is one of the most reliable light sources available without special equipment. Wiping the area clean beforehand, keeping the camera roughly parallel to the skin rather than shooting at a sharp angle, and avoiding the camera’s built-in flash will noticeably improve the result compared to a quick flash photo taken in a dim room.
None of this requires expensive equipment to understand as a client. But knowing what goes into a well-photographed portfolio piece is a useful, low-effort way to judge how seriously a studio documents and stands behind its own work.
Recommended Products
Disclosure: Las Vegas Tattoo Studios is a participant in the Amazon Associates program. When you click links to products on this page, we may earn a commission at no additional cost to you. This does not affect our editorial recommendations.
NEEWER Clip-On LED Selfie Light w/ CPL Filter, Tripod & Phone Holder
- Clip-on LED with CPL filter
- Includes tripod + phone holder
- 3000mAh rechargeable battery
Revalidated at the user-supplied reference ASIN, which matched exactly (no correction needed). Neewer's own official product page explicitly markets the BL120B's included CPL filter as usable to 'remove reflections in tattoo photography,' directly supporting the documentation use case, and confirms the exact configuration (light + clip mount + CPL filter) rather than an unverified Amazon-only bundle.
Limitation: Battery-powered only (3000mAh, ~150 min at full brightness); CPL filter is a small clip-on accessory, removable/losable; 'Basics' is Neewer's budget sub-line.
View Product on Amazon